Okay, so it has been a super long time since I last posted and if I recall I have managed to max out my photo allotment (I'll have to double check this) and if this is the case my blog will become more a vehicle of written expression then a showcase of how to and look-see here, but I do have some exciting news.
My life has been in flux for a bit now with a move not only out of state but across an ocean. I have yet to receive my household goods so my crafty space is as of yet a barren wasteland of hardwood wannabe laminate and potential.
In the mean time, I wanted to connect more with other creative individuals and so inspiration hit. Facebook; It is the perfect vehicle for sharing, inspiring, and challenging others from a creative perspective. Having decided on the where to connect, I then determined the how.
I have created not only a group but a page on Facebook for such an adventure. It's brand new, and just at fifty members, but hopefully growing. Already we've got a jewelry artist, a couple of individuals that draw and do digital art, some scrapbookers, paper crafters, a quilter/sewer, and seamstress, and various other individuals whose creative work will add to our environment of diverse talent.
The group is aimed at creating, sharing, inspiring, and challenging each other. With this basic premise we encourage everyone to create their own personal album that they can upload their work to for sharing purposes. For the challenges, various events, or albums are created with a topic and parameters for the challenge and as a place to upload specific completed challenge works to. Challenges are encouraged but voluntary and with all albums they can be created by the members.
We have one album set up for inspiration; it's purpose is a place for members to add all things that inspire them as a sort of catch all of inspirational imagery.
Overall the environment is meant to be member driven and created. A place to share, inspire, be inspired, challenge and be challenged. We encourage all types of creative, crafty, artistic individuals to join and help us grow this community of like minded people wanting to generate a cycle of creative inspiration and work.
https://www.facebook.com/SharingUnicorn
https://www.facebook.com/groups/CreateUnicornPoop
Please come and check us out if this resonates with you, but if it doesn't maybe you know someone that it will. Encourage creativity, positivity and growth (Ha! that made me almost sound like a hippy).
Thursday, June 27, 2013
Thursday, July 26, 2012
Blogging...does not reflect the reality of my craft madness.
I really should blog more. I am prolific in crafting and not just scrapbook pages. I create albums, cards, Project Life type cards (funny since I don't do PL), crochet, some knitting, sewing (I love sewing, fabric and trims really can be quite expensive so I leave sewing mostly to specific projects or mending), 3D paper craft art, painting, random home decor projects, etc... I just don't take the time to snap pictures of all of my projects or even better to blog about them.
However, I realize that my blog would be more interesting with a continuous influx of craft goodness but with as much as my day generally entails with small children, household chores and stolen moments with my Kindle and crafting in the those odd bits between everything else, blogging my projects really is last on my list of things to do. I am continually doing something and find it rather amazing those that can do all that I've mentioned and blog with photos regularly. Where do they get the energy, time or the inspiration so their blog doesn't become a stale repetitive cyclone of their crafting madness?
If you are a blogger, how do you go about keeping your blog fresh, interesting, and stay inspired to do it ALL on a regular basis? I would love to hear about it. :)
On a random side note. My kids and I found a huge dinner plate sized mushroom in the yard today. :)
Monday, July 16, 2012
Getting the most out of what you have.....can be tricky.
I've run across a lot of individuals lately who are attempting to cull their craft herds. They either feel unproductive with being overwhelmed by that amount of product they have on hand or have realized that they do not use what they have for various reasons. Most choose to sell off portions of their goods either in various types of lots or by the piece, which is a great option but can become a huge task, while others donate items to local day-cares and kids camps for their crafting use. These are all great options.
I was thinking it would also be neat to create kits for your local church for the youth groups or even host scrapping parties where the individuals pay a small user fee and bring their favorite adhesive and photos and create within your designated stash, hopefully with use of your basic tools. You could also host scrapping parties where certain individuals come to your home to create an album as a gift for a particular person using your supplies, each having a page or two to complete with a specific picture/s, kind of like creating blocks for a quilting party.
You could also do swaps, either kit style, by the theme, by the company, or by the supply. That way you may be inspired to try something new or simply re-inspired by what you may have forgotten about. You don't even necessarily need to swap your craft supplies for craft supplies. Maybe you could use detergent or chocolate chip cookies or say your living room carpet vacuumed. All you really would need to do for this to work is that both parties agree on what is being swapped for what and complete the transaction.
Reorganizing your stash in a different way will sometimes make you more likely to use certain products. Try organizing products into specific use bins, or as self made kits with your pictures, or into project bins that you give an expiration date to so that way if the date rolls around and you still haven't created said project you really know it's probably time to be rid of it. Or you could rotate around littler bins of often used items so that you have a constant new feel to what is in reach.
Breaking everything up into a color family regardless of item or manufacturer may open up how you use the items.
Putting all like items together....seems simple enough but can often limit its potential use as well. Sometimes seeing random items together in a box is exactly the kind of inspiration one needs.
You could also put all leftovers from kits and stacks or packages into random bins to create crazy art scrap bins that you could pull out without knowing what is in each particular bin for whenever you get stumped or as a way to scrap in a more random artistic fashion. This same bin concept would work as a way to know to donate/swap/sell said items either once the bin is full or as a monthly/by monthly process to help fund newer items you may want.
Having a photo box of random photos you like but just don't know what do with them would also make using those bins fun. It could be a really neat way to involve your kids and a great way to get some neat pages out of them with some great products without spending anymore money too or even a fun way to start a scrap challenge.
As for those gobs of leftover paper scraps you can shred them: garden mulch, compost, use it as filler in shipping boxes or presents, as confetti, use to make handmade paper. You could recycle it, give it to the kids to use, make a ton of paper flowers, create patchwork paper out of all the smaller pieces, use it to create a bunch of die cut shapes and alphabets and store those for use/sell/ donate/etc... or throw it out if you can part with it.
Sometimes keeping a handle on your supplies is simply knowing when not to buy more, or when it's time to reorganize so you really know what you have and what you use. Because knowing what we have will prevent unnecessary duplicates and allow us to work with what we know we have on hand.
Although admittedly crafting can become hoarding very easily if you start to feel that you need every color or every style of a particular item but there is no reason for this to happen if you can be realistic with your needs/wants and goals for your supplies within your supply budget. Speaking of a budget, if you don't have one for your crafts, that may be your quickest way to reign in your supplies, create a spending limit that works comfortably with your finances and your actual usage of supplies.
I hope these individuals find what works best for them for their supplies. It's not always easy to keep those supplies in line and it isn't always easy to be realistic about our needs versus our wants. :)
Tuesday, May 22, 2012
Rainbow Album Show and Tell


Everyone have a great and crafty day.
Friday, April 27, 2012
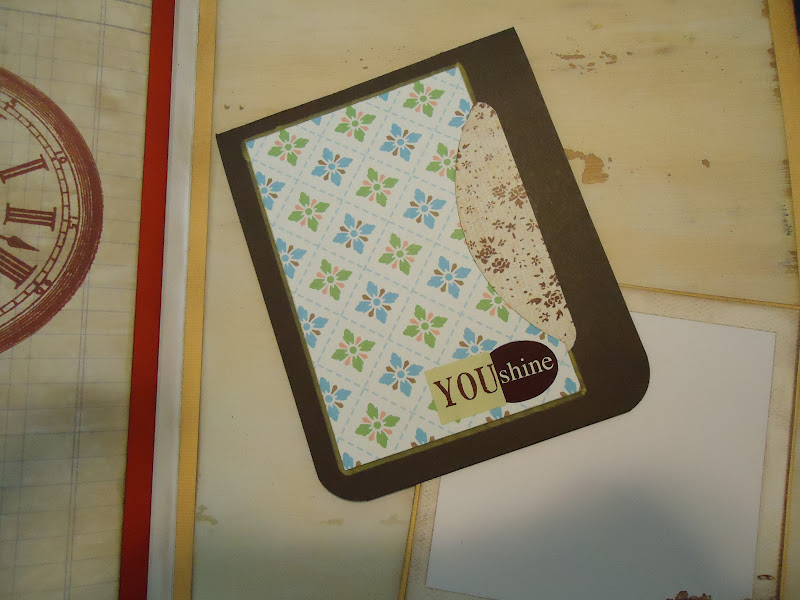
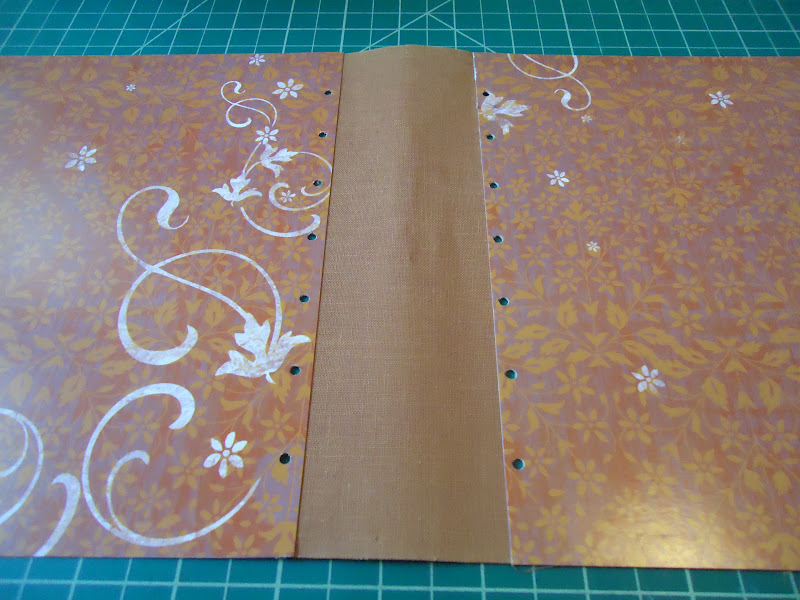
Mini in a Day 3 - Faith Album
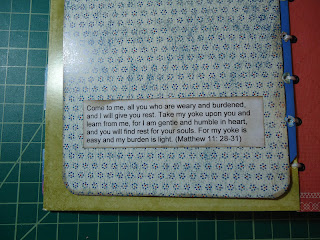
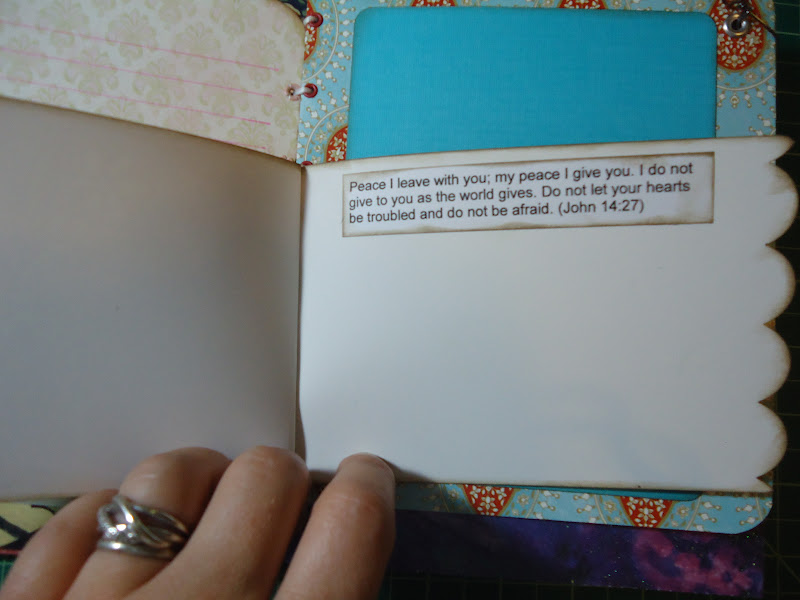
I created a mini album with a faith based theme and added many bible verses through out.
Cutting directly to the pictures of it.
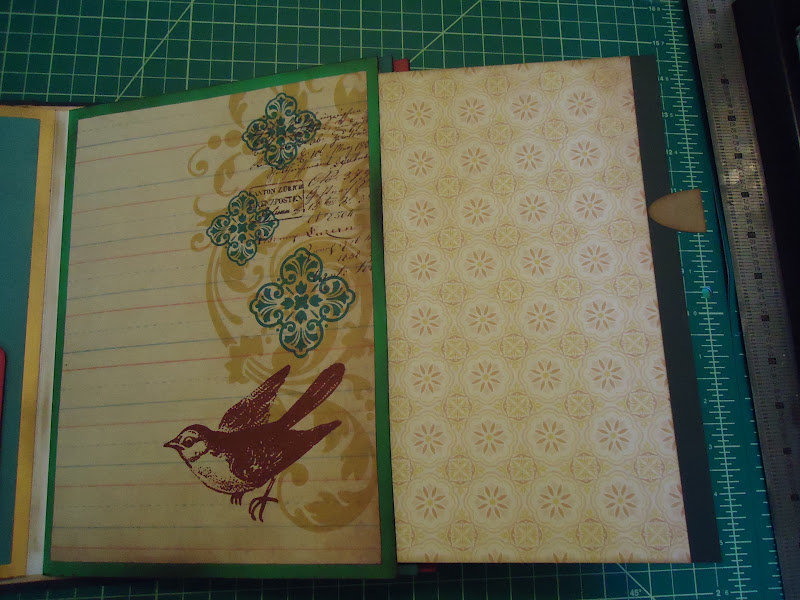
The first several pictures are how I put my cover together.


 The complete cover.
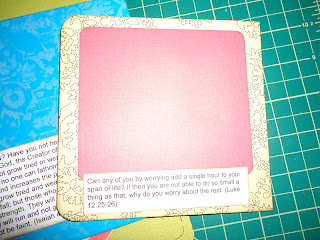
 From here on it is pictures of the finished album.


 This album was made and gifted with a particular friend in mind. :)
 Sorry, I know I meant to make this one a tutorial on how I made it but got distracted after I made the cover and neglected to snap pictures of the actual process after that.
I hope you all have a wonderful, crafty day.
Cutting directly to the pictures of it.
The first several pictures are how I put my cover together.


I hope you all have a wonderful, crafty day.
Subscribe to:
Posts (Atom)